2d Car Physics Tutorial

Car Racing
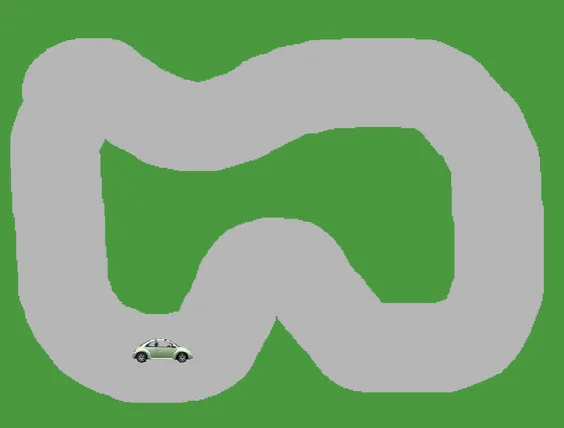
Smoky Car
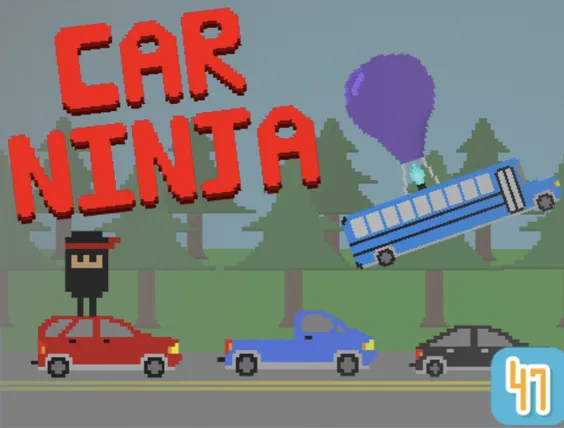
Car Ninja
Parking Pro
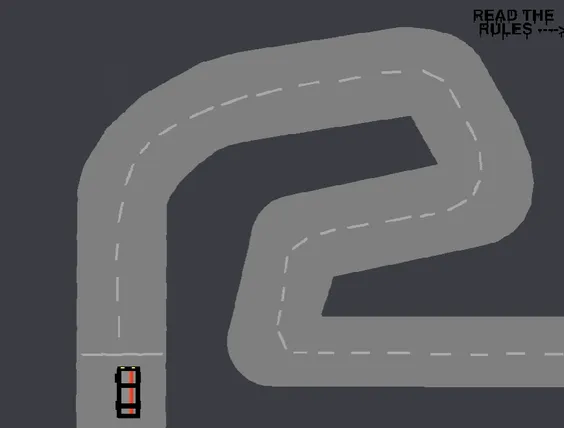
Car Driving
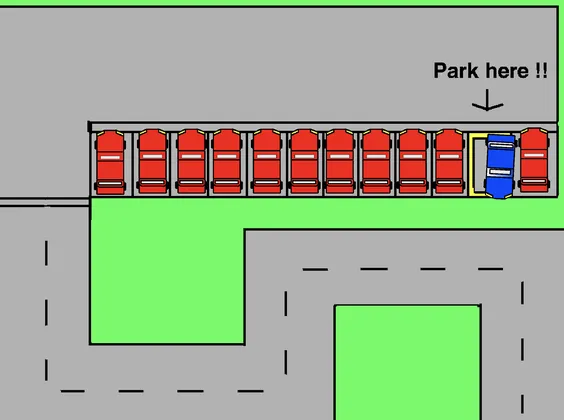
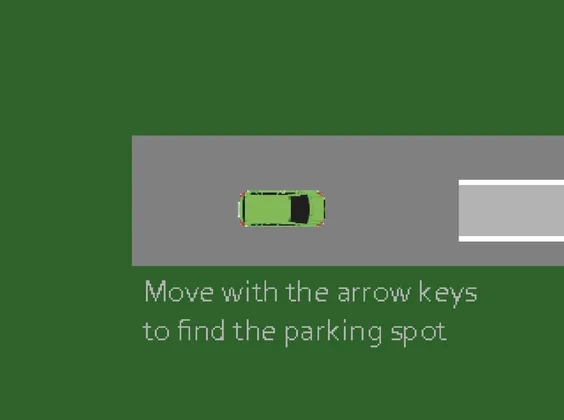
Parking Test
Race Car Simulator
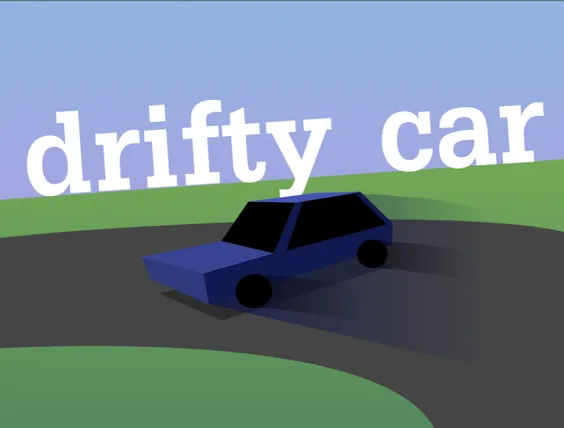
Drifty Car
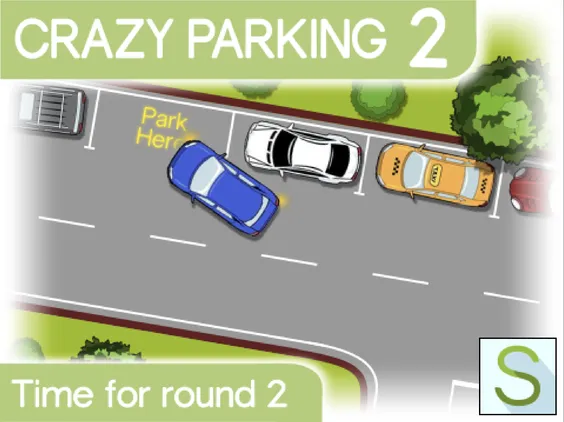
Crazy Parking 2
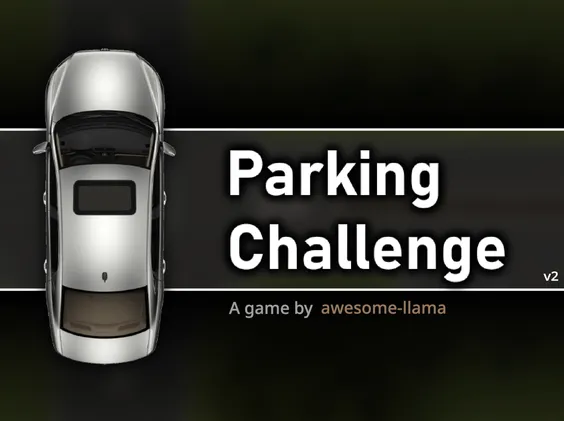
Parking Mania
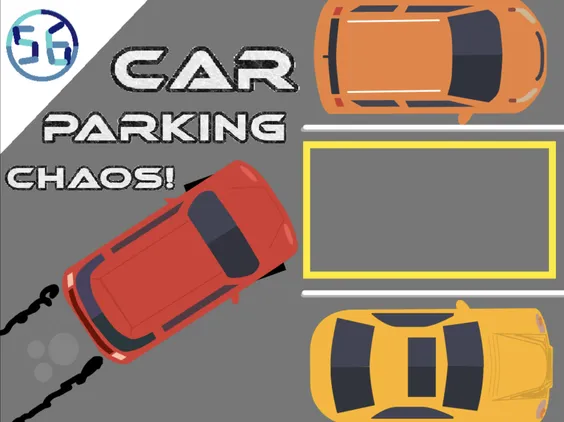
Car Parking Chaos V2
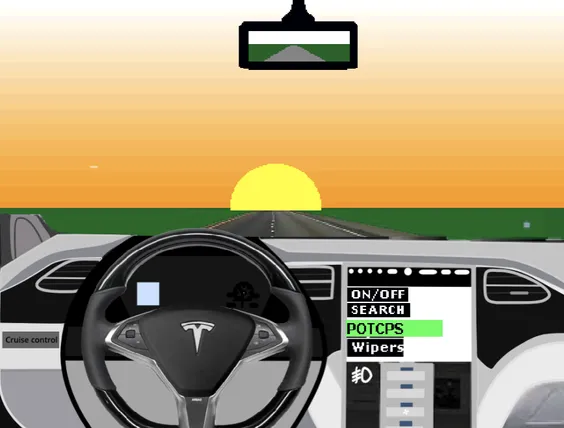
Car Simulator Tesla Edition
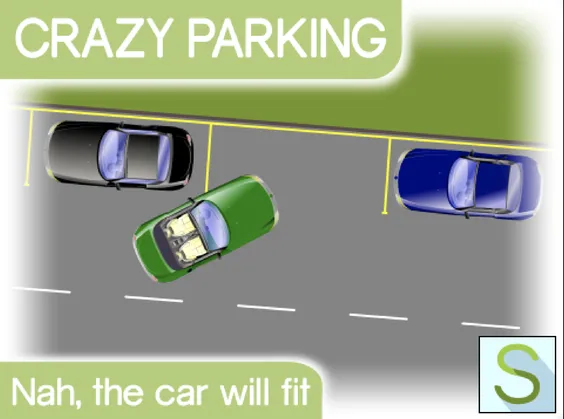
Crazy Parking

Parking Escape
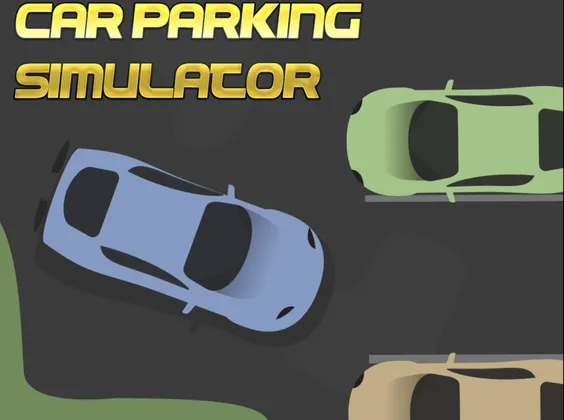
Car Parking Simulator
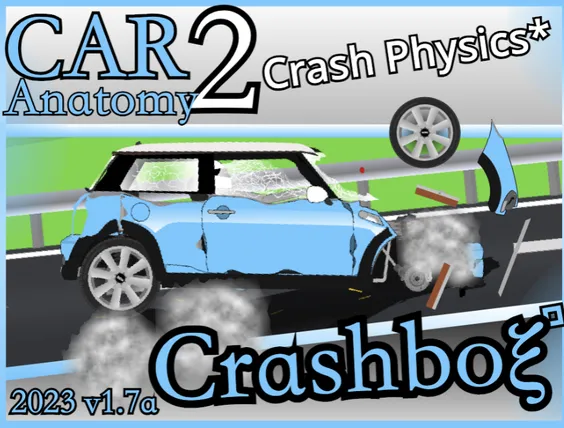
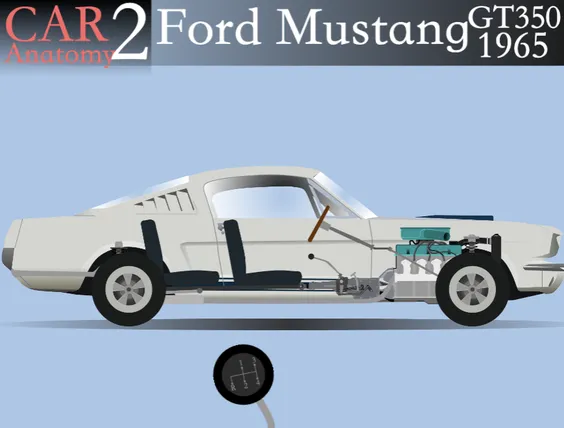
Car Anatomy Crashbo 1
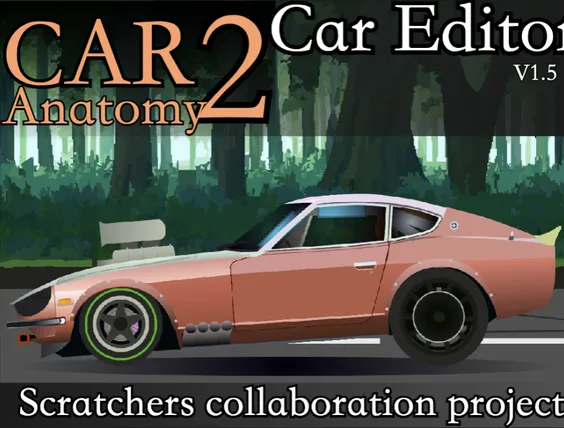
Car Driving Simulator Games Car Art 2
Parking The Game
Car Driving 3d Pen V0

Games Car Parking
Mastering 2D Car Physics: Your Ultimate Tutorial Guide
Welcome to the world of game development, where the thrill of creating your own racing game awaits! If you’ve ever wondered how to implement realistic driving mechanics, you’re in luck. This comprehensive 2D Car Physics Tutorial will delve into the essential principles behind simulating car behavior in a two-dimensional space. Whether you’re a novice or a seasoned developer, grasping these concepts will elevate your game design to new heights.
Understanding the Basics of Car Physics
Before we dive deep into the 2D Car Physics Tutorial, let's lay the groundwork by understanding some fundamental concepts of physics that apply to cars. When creating a racing game, you need to consider forces such as gravity, friction, and acceleration. These forces will dictate how your car behaves on various terrains. In essence, the physics engine will simulate how your vehicle interacts with the environment, enabling players to experience an authentic driving sensation.
Setting Up Your Development Environment
To start your journey with the 2D Car Physics Tutorial, you’ll need to choose a game engine. Popular options include Unity and Godot, both of which offer extensive resources for physics simulations. Make sure to install the necessary software and familiarize yourself with the interface. If you're new to game development, consider following beginner tutorials to get comfortable with the environment before proceeding.
Creating the Car Sprite
Your first step in the 2D Car Physics Tutorial is designing the car sprite. This could be as simple as a rectangle or as complex as a detailed vehicle. The key is to ensure the sprite is properly scaled and oriented for the physics engine to recognize its boundaries. Use graphic design software to create a visually appealing car that fits your game’s aesthetic. Remember, a well-designed sprite enhances the overall gameplay experience.
Implementing Physics Components
Now we move on to the heart of the 2D Car Physics Tutorial: adding physics components to your car. In Unity, for instance, you will need to use a Rigidbody2D component to enable physics interactions. This component will manage the car’s movement and collision detection, making it essential for realistic behavior. Adjust properties such as mass, drag, and gravity scale to fit your desired car dynamics.
Defining Movement Controls
Next up in our 2D Car Physics Tutorial is defining how players will control the car. You’ll want to map input actions to control acceleration, braking, and steering. Using the keyboard or gamepad, players should have intuitive and responsive control over their vehicle. Implementing smooth acceleration and deceleration can significantly improve the player’s experience, making them feel more connected to the car they’re driving.
Applying Physics Forces
A pivotal aspect of our 2D Car Physics Tutorial is applying physical forces to the car. To simulate realistic movement, you’ll need to apply forces based on player input. For example, when the player presses the acceleration key, apply a force in the forward direction. Conversely, when the brake key is pressed, apply a force in the opposite direction. Additionally, consider implementing torque to control steering, allowing the car to turn smoothly and realistically.
Handling Collisions and Obstacles
In any racing game, collisions are inevitable. In this portion of the 2D Car Physics Tutorial, we’ll discuss how to handle collisions effectively. Utilize the built-in collision detection features of your game engine to manage interactions between the car and the environment. Implement responses to collisions, such as reducing speed or bouncing off obstacles, to create a more engaging gameplay experience. Remember to tune your collision parameters for different terrains, as each surface will affect the car's handling differently.
Tuning the Physics for Realism
As you refine your game, you’ll want to fine-tune the physics settings to achieve the desired realism in your 2D Car Physics Tutorial. Experiment with the values of friction, bounciness, and mass to see how they affect your car’s behavior. You might find that adjusting the drag or the center of mass can drastically change the dynamics, making your game feel more lifelike. Playtest often to ensure that the driving mechanics are both fun and realistic.
Adding Visual Effects for Enhanced Experience
Visual effects play a crucial role in making your game more immersive. In the 2D Car Physics Tutorial, consider adding animations for when the car accelerates, brakes, or collides. Dust clouds, skid marks, and sparks can enhance the visual feedback, making the driving experience more enjoyable. These effects not only contribute to the aesthetic but also provide players with indicators of their car's performance.
Creating Different Terrains
Different surfaces will affect how a car behaves in your game. In this section of the 2D Car Physics Tutorial, we’ll explore how to create varied terrains. Grass, asphalt, and dirt all have unique friction properties that will impact acceleration and handling. Design your levels with these surfaces in mind, and adjust the physics materials accordingly. This diversity can create challenging and engaging gameplay for players.
Testing and Iterating on Gameplay
Testing is a crucial part of game development, especially in our 2D Car Physics Tutorial. Regularly playtest your game to identify any issues with the car’s handling or physics interactions. Gather feedback from playtesters and be open to making adjustments. Sometimes, minor tweaks can lead to significant improvements in player satisfaction and overall game enjoyment.
Publishing Your Racing Game
Once you’re satisfied with your car physics and overall gameplay, it’s time to share your creation with the world! In this final segment of our 2D Car Physics Tutorial, we’ll go over the steps to publish your game. Choose your distribution platform—whether that’s Steam, the App Store, or another service—and prepare your game for launch. Ensure you have all necessary marketing materials, such as screenshots and trailers, to attract players.
Conclusion
By following this 2D Car Physics Tutorial, you’ve taken significant steps towards creating an engaging racing game that players will love. Remember, game development is an iterative process, and continuous learning is key. Keep experimenting, refining your mechanics, and listening to player feedback. With dedication and creativity, your game can stand out in the crowded world of indie racing titles. Happy developing!